When Sarah realized her tomato seedlings were wilting every afternoon despite daily hand-watering, she assumed they needed more water. After installing a basic drip setup that soaked the topsoil but left roots thirsty, the problem got worse. Across town, Mark’s new raised beds flooded after his “one-size-fits-all” drip kit dumped too much water in low spots. These are typical homeowner moments — small misunderstandings with big effects on yields.
1. Mistake: Picking the Wrong Kit for Your Garden Size and Layout
The problem: Many gardeners buy the cheapest or most popular drip kit without matching it to bed size, plant spacing, or water pressure. A kit designed for a 10-foot bed won’t cover a 30-foot row, and emitters meant for 1 gph (gallon per hour) won’t meet the needs of thirsty squash.
The fix: Match flow rate and coverage to plant needs. Start by sketching your bed layout and measuring row lengths. Use these guidelines:
- Small raised beds (up to 4' x 4'): 0.5–1 gph emitters at 6–12" spacing.
- Long rows (10–30 ft): 0.5–1 gph emitters at 12–18" spacing, or 1/4" tubing with inline emitters spaced to match plants.
- Heavy feeders (corn, squash, tomatoes): 1–2 gph per plant, or double-line emitters for root zone coverage.
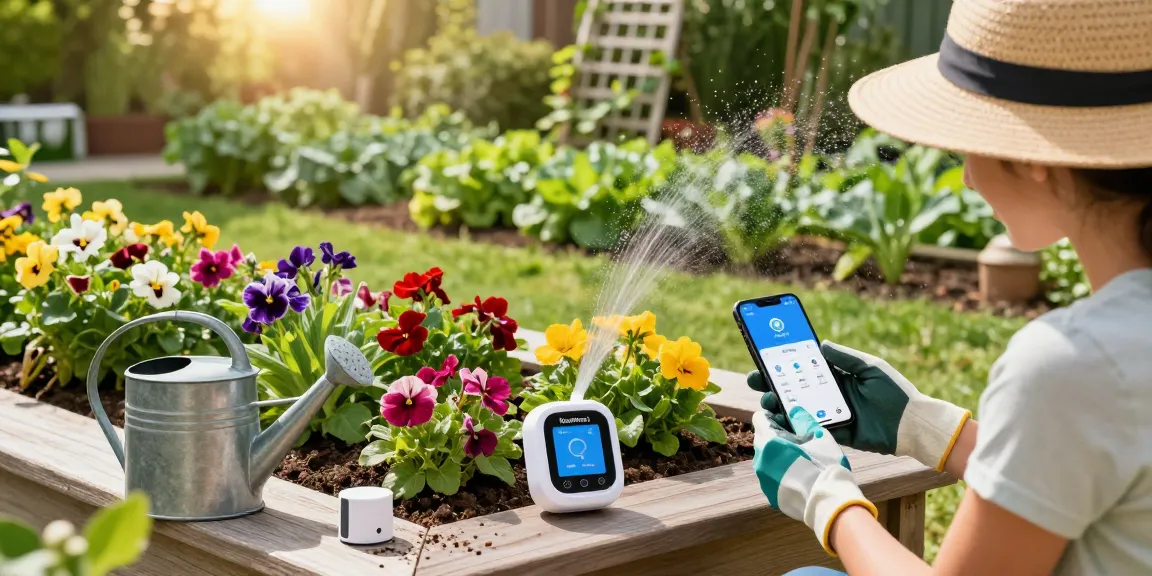
Example: A 20-foot row of tomatoes with plants every 18" (13 plants) needs roughly 13–26 gph total. If your water source supplies 6–8 gpm (gallons per minute), a basic kit is fine. But if pressure is low, choose pressure-compensating emitters to keep flow even. A WiFi timer such as the RainPoint model lets you set run times precisely so the right amount of water is delivered without constant monitoring.
2. Mistake: Installing Emitters Too Far from Roots (or Too Close to the Surface)
The problem: Surface drips or emitters placed at the wrong distance from the plant will encourage shallow roots or miss the root zone entirely. That’s why seedlings seem fine after watering and then die back between sessions — roots never developed deep enough.
The fix: Place emitters to target the active root zone and bury tubing shallowly for stability. For transplants, position emitters 2–3" from the stem and gradually move them outward as roots spread. For established plants, place emitters 4–6" from the crown so water soaks toward deeper roots.
Practical setup tips
- For seedlings: use micro-sprays or 0.5 gph drippers close to the stem for 15–30 minutes every other day depending on soil type.
- For mature vegetables: use 1 gph emitters 4–6" from stems for 30–60 minutes, 2–3 times per week in summer (adjust for rainfall).
- Use 1/2" or 1/4" tubing for flexibility; bury mainlines 1–2" to hide them and prevent sun degradation.
Concrete example: Sandy soils shed water quickly and need shorter, more frequent cycles—two 20-minute cycles daily may beat one 40-minute soak. Clay holds water longer, so fewer, longer cycles are better. The EPA notes that efficient irrigation can save thousands of gallons annually when systems are tuned properly; using emitters in the root zone is a big part of that savings (see EPA WaterSense guidelines).
3. Mistake: Ignoring Pressure and Flow Compatibility
The problem: Hooking a low-pressure hose to a kit designed for higher pressure causes uneven output — some emitters might spit while others pour. The result is patchy growth and wasted water.
The fix: Test your water pressure and flow before buying components. Measure static pressure at the spigot with a simple gauge (many hardware stores sell them). Also run the garden hose and note how many gallons per minute you can get. Then pick emitters and tubing rated for that range. Here’s a quick compatibility guide:
Household FlowRecommended EmittersBest Tubing< 3 gpmPressure-compensating 0.5–1 gph1/4" with micro-emitters3–8 gpmStandard 0.5–2 gph1/2" mainline with 1/4" laterals> 8 gpmMultiple zones or higher-flow emitters3/4" or larger mains with regulated zones
Example: Mark’s setup on a garden with a weak outdoor faucet under-delivered because he didn’t know his pressure was 25 psi. Swapping to pressure-compensating emitters fixed the uneven watering. If you want to simplify scheduling and zone control across different pressure conditions, a WiFi controller can handle multiple zones automatically — a WiFi timer from RainPoint can handle that schedule automatically and let you tweak runtimes from your phone.
4. Mistake: Overwatering or Underwatering from Poor Scheduling
The problem: People assume once-a-day watering is best, or set timers based on the calendar instead of plant needs and weather. That causes root rot in cool, wet springs and drought stress during hot spells.
The fix: Schedule by soil moisture, plant type, and weather. Use short cycles in hot weather and fewer cycles when it's cooler. For many vegetable gardens, aim for deep soakings that wet the root zone rather than light surface misting.
Sample weekly schedule for a medium-feeding vegetable bed (loam soil)
- Spring (cool): 3× per week, 20–30 minutes per zone.
- Early summer (warming): 4× per week, 30–45 minutes per zone.
- High summer (hot): 5× per week or daily short cycles; consider twice-per-day short cycles to avoid runoff.
Concrete figure: University extension services often recommend applying roughly 1–1.5 inches of water per week to most vegetable gardens, split across sessions. You can measure output by placing a tuna can under an emitter to time how long it takes to collect one inch. If your system delivers 0.5 gph per emitter and you have 10 emitters, you'll get about 5 gph total — adjust runtime accordingly.
If you want an all-in-one solution that includes right-sized emitters and clear scheduling advice, you can get a complete drip irrigation kit for vegetable gardens tailored to typical U.S. backyard beds.
5. Mistake: Skipping Filters, Flushes, and Winterization
The problem: Clogs from sediment or mineral buildup and freeze damage are common when maintenance is ignored. A clogged emitter starves plants while others nearby get overloaded.
The fix: Add a filter and a pressure regulator at the header, and install easy-access flush points. Flush lines for a minute or two at season start and mid-season. At the end of the season, blow out or drain lines in climates that freeze.
- Install a 150–200 mesh filter for surface water sources or garden hose supplies.
- Use a pressure regulator if your tap runs over 40 psi to protect emitters.
- Include shut-off and flush fittings at low points for seasonal maintenance.
Example: Sarah prevented emitter failures by fitting a simple inline filter and flushing the system after heavy storms. That small step extended the life of her drippers and made spring setup much quicker. Efficient maintenance also helps reach the savings reported by programs like EPA WaterSense, which encourage proper irrigation system upkeep for significant water savings (see EPA guidance for residential irrigation) EPA WaterSense.
Choosing the right watering setup for each yard matters. For vegetable gardens, precise drip systems shine; for lawns and larger areas, different solutions may be better. When homeowners match the problem to the right solution — and maintain it — they stop guessing and start harvesting more reliably.